Starlink Dish Marine Mounting: Doing It Right the First Time
A poorly mounted dish rarely fails immediately — it fails months later, in a seaway, at the worst possible moment, once vibration, salt and obstruction have had time to do their work.
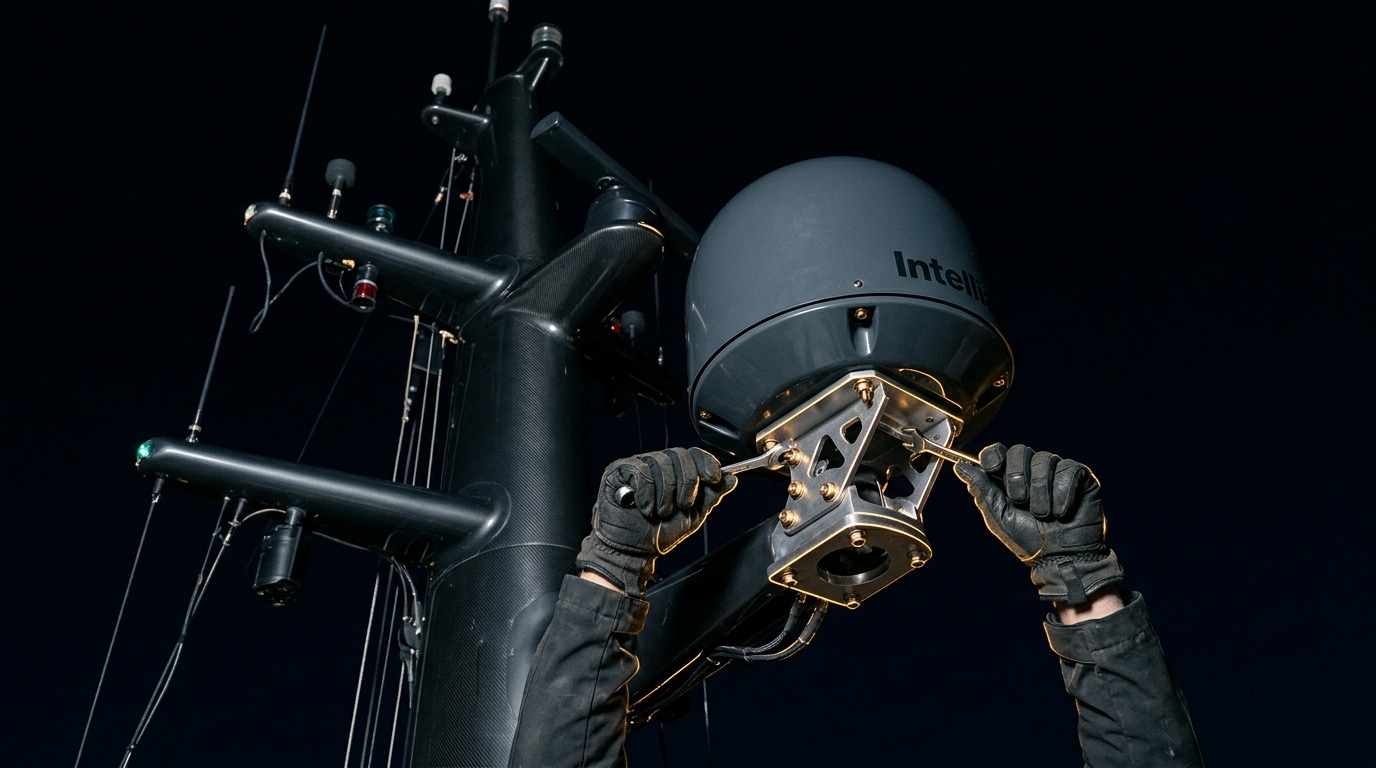
The mount is not a formality between unboxing and getting online. On a vessel, it determines whether the dish keeps a clear sightline through a full range of headings and sea states, survives years of vibration and salt exposure, and stays out of the way of radar, rigging and crew. Getting it wrong is the single most common cause of intermittent connectivity that consumer troubleshooting never resolves, because the equipment itself is working exactly as designed.
The considerations that actually matter
- Clear sightline across the full range of expected headings, not just the heading the boat happened to have during installation. Model the obstruction from the mast, radar arch, exhaust stacks and any structure the dish might swing past at anchor.
- Height and separation from radar and other RF-emitting equipment. Radar in particular can interfere with satellite terminals mounted too close, and vice versa — manufacturer separation guidelines exist for a reason and are frequently ignored during a rushed install.
- Vibration isolation. A rigid mount transmits engine and sea-state vibration directly into the terminal's motorized components over years of use, shortening service life. Proper marine mounts include isolation specifically for this.
- Cable routing and strain relief. Cabling run without drip loops, chafe protection or proper strain relief is a leading cause of intermittent faults that look like a software or signal problem but are actually a damaged cable.
- Stow and motion clearance for actuated dishes, and adequate structural strength in the mounting point itself — a bracket rated for static load is not automatically rated for dynamic marine loads in a seaway.
- Corrosion-appropriate hardware. Standard stainless fasteners can still gall or corrode in continuous salt exposure without the right grade and anti-seize preparation.
A note on retrofit versus new-build installs
New-build yachts have the advantage of planning mount locations, cable runs and RF separation before the deck is even finished. Retrofitting connectivity onto an existing vessel is a different exercise entirely — working around existing structure, rigging and equipment that wasn't designed with a satellite terminal in mind, and often compromising on ideal placement for practical reasons. Neither situation excuses skipping the fundamentals above, but a retrofit generally benefits more from an experienced marine electronics specialist who can identify workable compromises rather than forcing a textbook-ideal placement onto a boat that simply wasn't built for it.
Where owners commonly get this wrong
The most frequent mistake is mounting for convenience — wherever cable runs are shortest or installation is easiest — rather than for sightline and structural integrity. The second is treating the mount as a one-time decision rather than testing it across the vessel's actual operating profile: underway on multiple headings, at anchor with full swing, and in the sea states the boat genuinely experiences rather than the calm conditions of installation day. This is exactly the pattern behind the anchor-specific dropouts covered in boat internet not working at anchor — a mount that looked perfect at the dock reveals its obstruction problem the first time the vessel swings on its hook.
The dish will tell you the mount is wrong. It just does it three months later, at anchor, in the dark.
Mounting is also inseparable from the plan decision itself — a Maritime-rated dish has different structural and clearance requirements than a Roam or Mini terminal, covered in Starlink Maritime vs Roam — and from how signal is distributed once it reaches the vessel, addressed in our yacht WiFi guide. Treating hardware selection, mounting and distribution as one coordinated project, rather than three separate purchases, is what actually produces reliable connectivity.
Sea trial verification: confirming the mount is actually right
A mount that looks correct at the dock has not actually been tested. Proper verification means running the vessel through its realistic operating envelope before calling the install finished:
- A full swing at anchor, ideally across a tidal or wind cycle, confirming the obstruction map stays clear across every heading the boat will actually take.
- Underway on multiple headings, including the ones the vessel doesn't take often but occasionally must — running downwind in a following sea, for instance, which can change the dish's relative angle to the sky more than owners expect.
- In genuine sea state, not flat calm, since vibration and motion-related faults frequently don't appear until the boat is actually working.
- With other RF equipment active — radar transmitting, not just powered on — to confirm there's no interference under real operating conditions rather than idle ones.
The cost of skipping this step
An install that isn't sea-trialled can look perfect for months, right up until the specific combination of heading, sea state and equipment load that reveals the flaw finally occurs — often on a passage, far from the installer, at the moment reliable connectivity matters most. The half-day spent verifying properly costs far less than the outage it prevents.
Obsidian Helm specifies and oversees marine installations to this standard — sightline modelling, vibration isolation, corrosion-appropriate hardware and full sea-trial verification — through our Yacht & Jet practice, coordinated remotely with vetted technicians at your vessel's location.
Have the Install Specified and Verified Properly
A $4,999 Private Strategy Session covers full connectivity design for your vessel, including mounting specification and sea-trial verification — credited toward membership.
Request Your InvitationFrequently asked
Where is the best place to mount a Starlink dish on a boat?
The highest point with a clear sightline across the vessel's full range of expected headings, ideally away from radar and other RF equipment, with enough structural strength to handle dynamic marine loads rather than just static weight.
Can I mount Starlink myself on my boat?
It's possible for a simple, small-boat installation, but proper sightline modelling, vibration isolation, RF separation from radar, and corrosion-appropriate hardware selection are easy to get wrong without marine electronics experience — mistakes that often only surface months later.
Does Starlink interfere with marine radar or vice versa?
Proximity between the two can cause interference, which is why manufacturer separation guidelines exist for mounting distance between a satellite terminal and radar equipment — a detail frequently overlooked in rushed installations.
Why does my Starlink dish lose signal only in certain conditions?
This usually points to an obstruction issue that only manifests at specific headings or sea states — for example the dish's sightline being blocked by the mast only when the boat swings to a particular heading at anchor.
What hardware should be used to mount Starlink on a boat?
Marine-grade stainless hardware (generally 316 over 304), proper vibration isolation, and mounts structurally rated for dynamic marine loads rather than static weight alone — standard consumer mounting hardware is typically not adequate for continuous offshore use.